SNMP Configuration
Basic configuration
SNMP is a protocol for remote monitoring and management of the network, along with devices connected to it, such as PDUs, routers or switches. Thanks to connection to the SNMP, you gain the ability to collect information on the transfer and power usage. In addition, it allows you to remotely control network ports or power outlets.
In order to configure connection to SNMP, select ‘Edit’ from the ‘Actions’ menu that can be found in the server summary view.
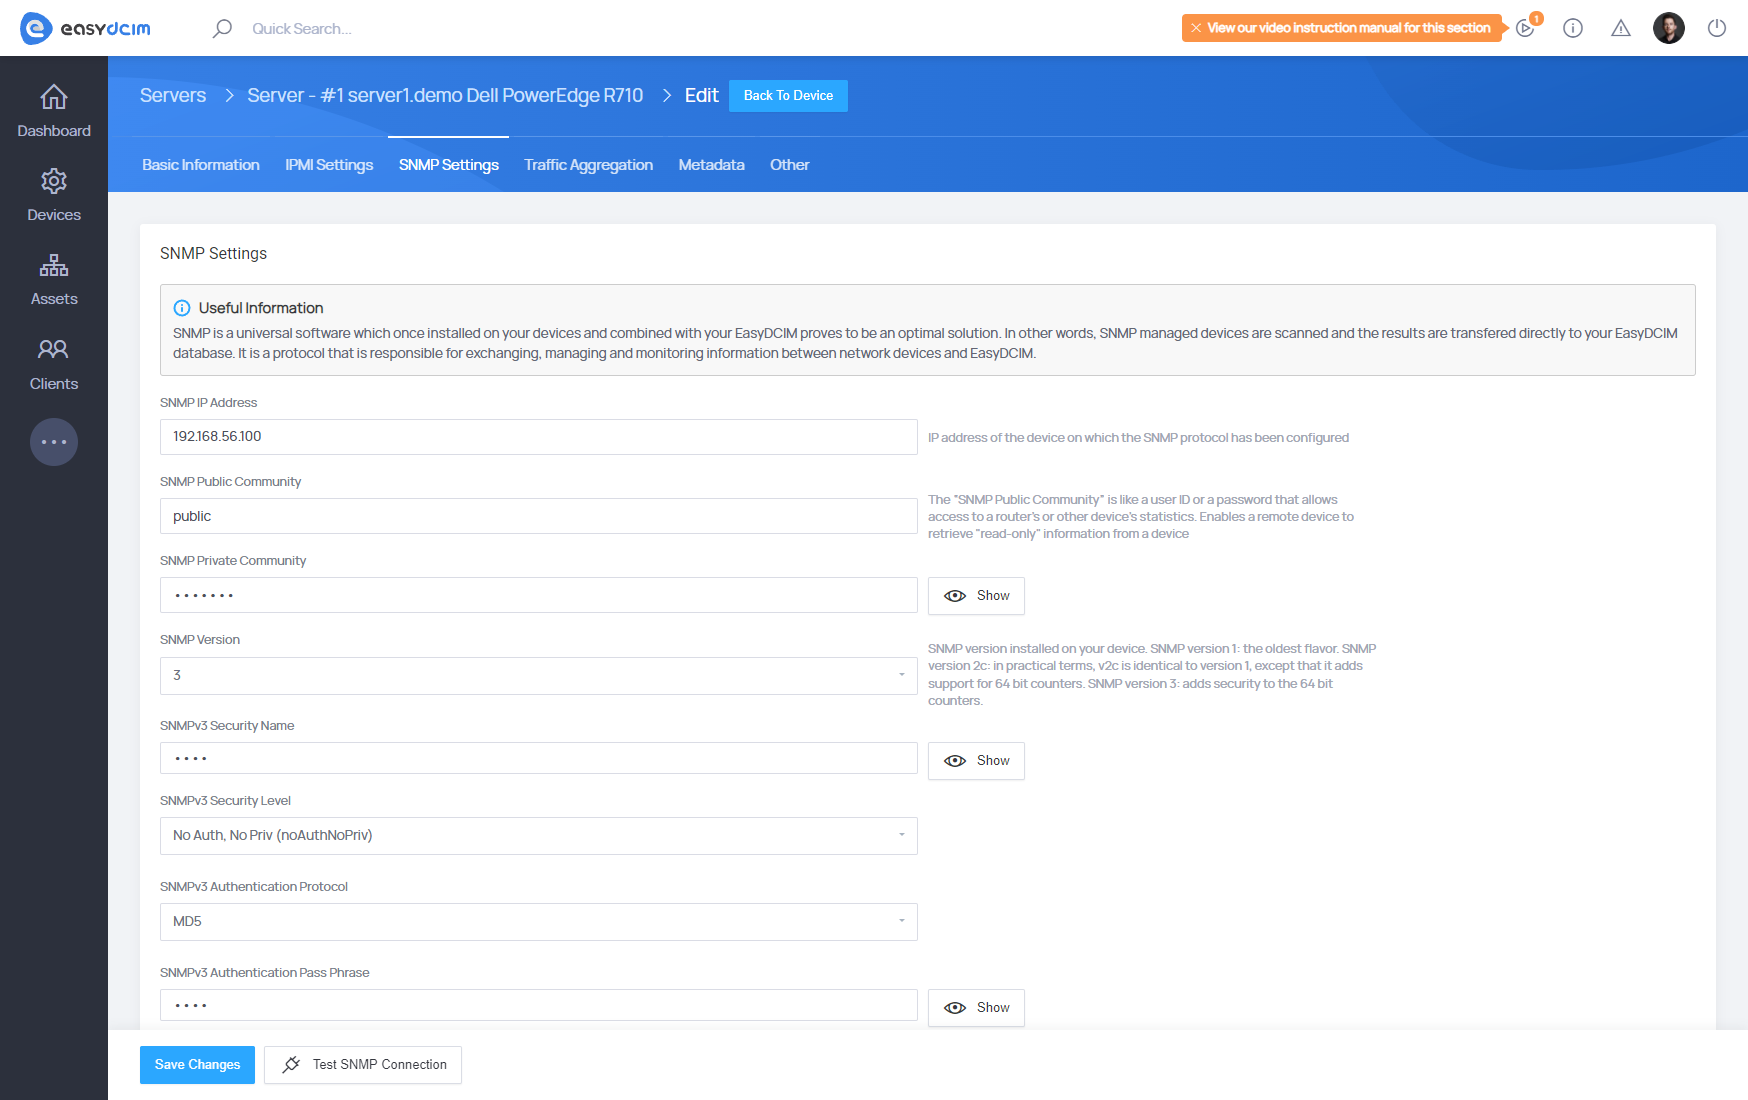
The form includes a couple of required fields, such as the SNMP IP Address where you need to specify the IP address of the server, and the SNMP Public Community where the public password should be provided.
Additionally, the administrator can specify the SNMP Private Community, that is the private password and choose the version of the SNMP protocol that is configured on the server. If the third version has been configured on the server, you need to fill in additional fields used for connection.
Once the form has been filled out and changes saved, you can test the entered data. After you press the ‘Test SNMP Connection’ button, the system will check the validity of the SNMP connection basing on the following OID in a repository: SNMPv2-MIB::sysObjectID.0.
If the value is retrieved, the system will consider the SNMP connection to be correct. Otherwise, an appropriate error will be displayed.
The SNMP connection will be established soon after saving the data. The first details about the device will appear after minimum 15 minutes. Afterward, the information is collected in 5-minute intervals.